The inevitable question always comes up at the end of the week: What should we do this weekend?
One of the things that I have tried doing is to get off the screen and try to build or create something. My husband fears these days because he ultimately gets pulled into whatever project I have in mind.
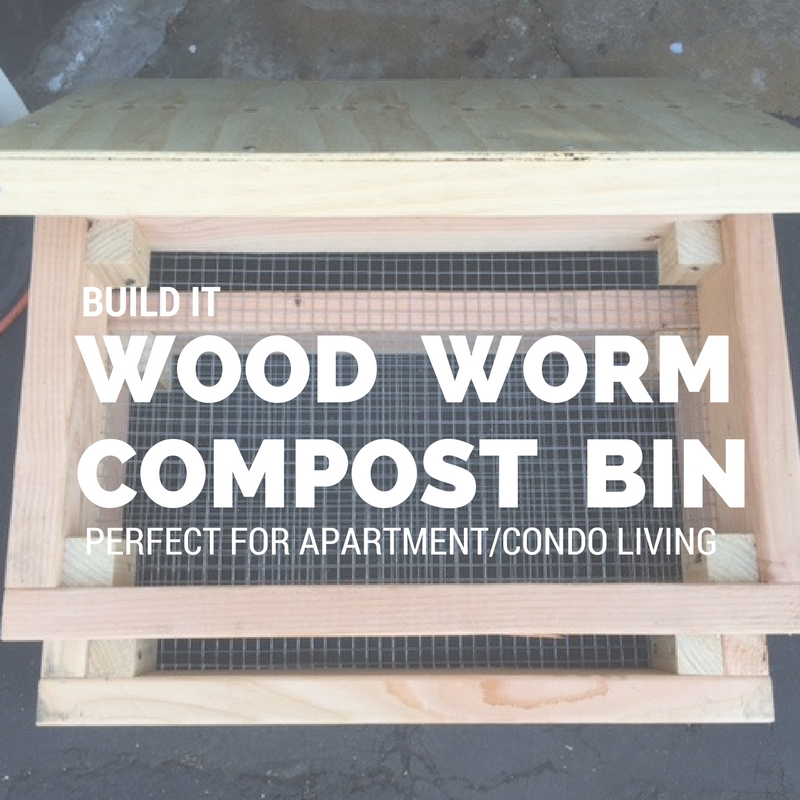
This past Friday, with the help of my dad, we were able to make a wooden worm composting bin. I could have easily bought a plastic bin and be done with it, but I am trying to reduce my plastic usage and I thought it would be fun to figure this out. It was pretty straightforward.
After a bunch of research on what to build, I decided on a vertical worm bin. This video from the Growing Club was one of the best I came across. It was easy to follow. I've never really constructed anything before so I watched it a few times to get a good idea of what to do. I also sketched and mapped out what we needed to reduce trips to Home Depot.
Total Cost: Around $40, less if using recycle and found materials
Total Time: Less than 6 Hours, faster if you are familiar with using hardware tools
Video Tutorial
Watch this first as it will give you a good sense of why and what you are building.
Finished Product
Gather Your Materials
If you have access to wood, nails and other materials, grab those, if not take a trip to Home Depot. I had to buy most of the materials and a breakdown of costs is listed below.
Home Depot Shopping List
1 - 2'x5' 1/2" 18 Gauge Hardware Cloth - $6.94
2 - 2x4 10FT Douglass Fir - $9.64
2 - 2x2 8FT Pine Board - $9.32
1 - 2x4 1/4 Plywood - $2.97
1 - 1LB 2-1/2" Drywall Screw - $4.37
1 - 1LB 2-1/2" Roofing nails - $2.43
1- 1LB 1-1/2" Roofing nails - $2.43
Notes:
We ended up making only two bins as a start. The wood purchased will cover two bins. If making 3, you'll need some additional 2x2 or similar scraps to finish the re-enforcements.
We went straight for the removable cover and did not include a hinge system. I figure this was light enough to lift to load compost.
Hardware cloth can sometimes be found in the seasonal section so check the gardening area where it may be with the fencing and soil covers
Ask one of the friendly Home Depot workers to cut the wood to size. They can cut it for free as long as it is not under 4 inches
Cut one of the 10FT 2x4 into 2FT boards, this will result in 5 2FT boards
Cut the second of the 10FT into 1 2FT board and 6 1FT boards, keep the leftover
Cut both 8FT 2x2 into 12 1FT boards
Redwood was the recommended wood as it won't degrade as fast, but we could only find fir and pine. Just make sure you don't use treated wood because the worms will not like the chemicals
We couldn't find chicken wire or hardware cloth staples so we opted for the 1-1/2" roofing nails.
The Power of the Tools
To make assembly easier, make sure you have your power drill, power driver, sander, drill bit set and hammer handy.
The Assembly
The Setup
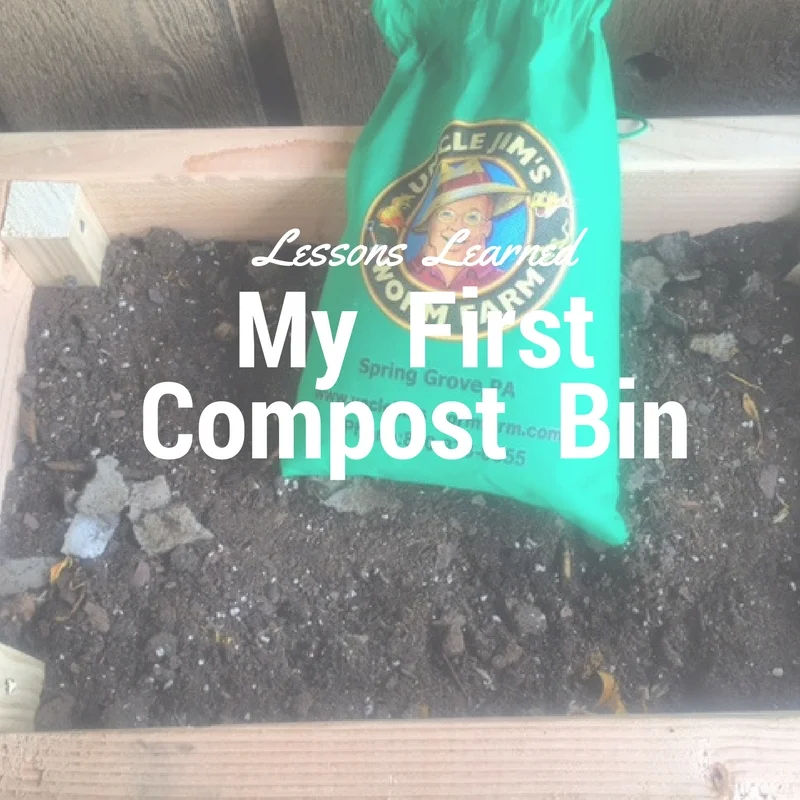
A few days before I started this project, I ordered my composting worms on Amazon from Uncle Jim's Worm Farm. I started saving compost in the meantime. I assembled everything together once the worms came in.
Update August 10, 2016.
I originally left the wood as-is, but over the past few weeks, I've seen the wood start to warp due to moisture from the rain. Since I leave the compost bin outside, I decided to spray a water sealer on it. So far, I have sprayed it on the unused bin and the cover. Once the worms move to the second bin, I will then spray the other bin. I used Thompson WaterSeal. I have never used this before so I'm hoping it is ok in the long run.
Ready to see the impact of your
consumption on the planet,
sign-up for the 15 day
#SaveMoneySaveThePlanet Project.


